
Last Updated on November 26, 2025
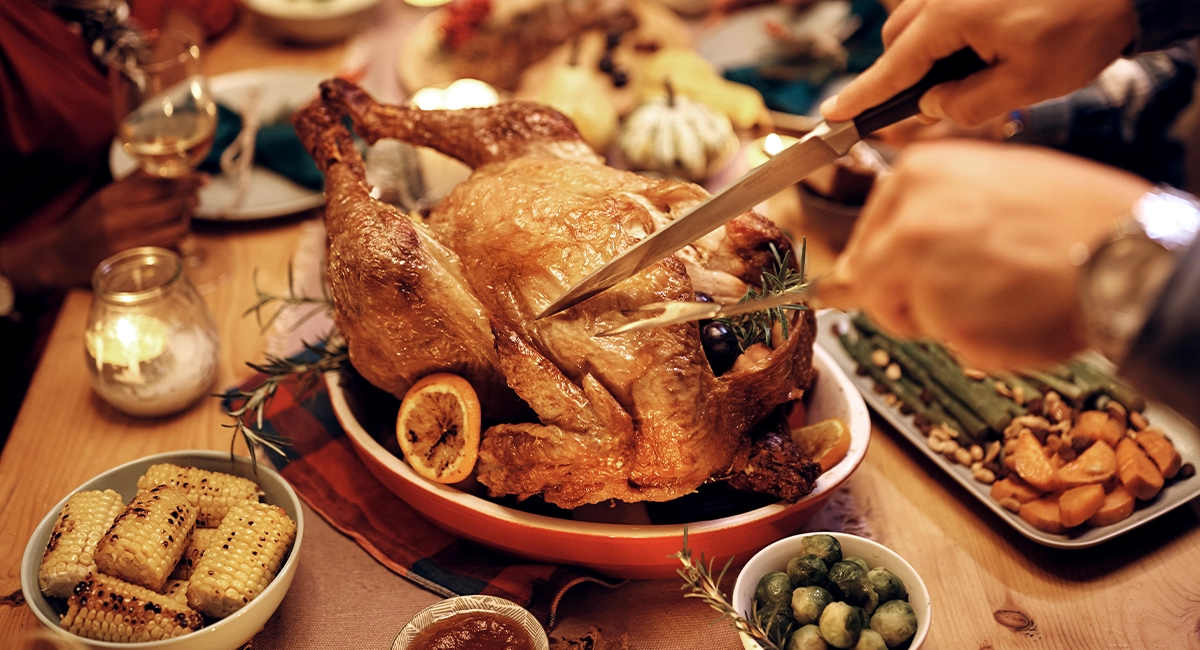
Thanksgiving Day is upon us, and the clock is ticking. Who’s going to get that all-important job of carving the most important dish of the day: the turkey! There are so many factors to consider. The tradition. Who’s really good at it? And who really is going to make it dazzle on a platter for everyone to see before they eat?
Let Ocean State Job Lot take you through a process that will make things a bit easier for whoever you choose this Thanksgiving so that your turkey not only tastes great but looks awesome as well.
Getting Ready
Before you even think about carving, you’ll want to let your turkey rest once you take it out of the oven. A good 20-30 minutes should allow the juices to redistribute throughout the meat, resulting in a moist and flavorful bird.
While that’s going on, you can get yourself ready to go. Put your apron on and get your linens, placemats, tablecloths and oven mitts out. Once that’s done, you can gather the rest of your turkey tools. Here’s what you’ll need:
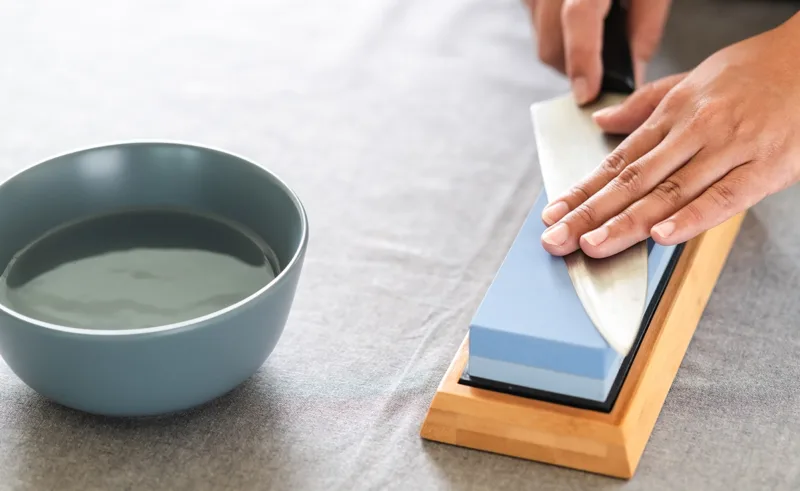
- Sharp carving knife
- Meat thermometer
- Large cutting board
- Serving platter
Steps for Success
- Use a sharp knife: A sharp knife will make carving easier and help prevent the meat from tearing. You can choose between a hand knife or an electrical knife, whichever is your preference.
- Be Patient: Carving a turkey can take some time, so be patient and take your time.
- Follow the Grain: When slicing the meat, follow the grain to ensure that the slices are tender.
- Check for Bones: Be careful not to include any bones in your slices. Obviously, bones could be dangerous if swallowed.
- Remove the Wishbone: Once you’ve sliced most of the breast, carefully remove the wishbone.
Remove the Legs, Thighs, and Wings
Use your sharp knife to angle along the body and joint of your turkey to separate the leg. You may hear a slight pop once the leg is removed. Repeat the process for the other leg and thighs. Once the legs are removed, the thighs can be separated from the drumsticks. Cut through the joint where the thigh and drumstick connect.
You can repeat the same process to cut off the wings.
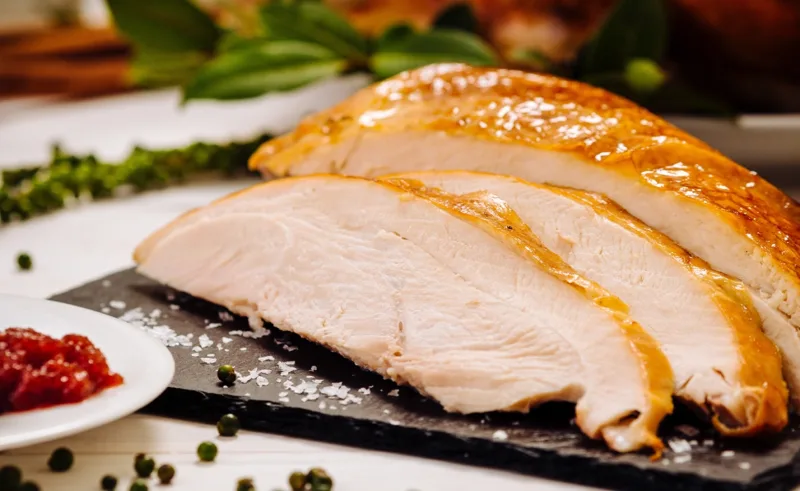
Carve the Breast
The breast is the most challenging part to carve. Place the turkey breast-side down on the cutting board. Make a shallow cut down the center of the breastbone, separating the two breasts. Carefully cut along the rib cage to remove the breasts from the carcass.
Once the breasts are removed, slice them into thin slices roughly half-inch-thick slices. Be careful not to cut through the skin. You may need a couple of plates as you carve one breast at a time on a platter.
Miscellaneous Tips
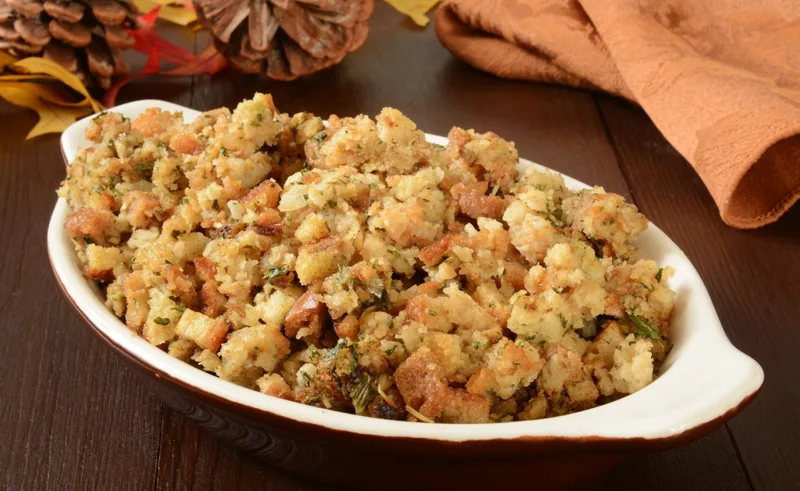
If you stuffed the turkey before you cooked it, you’ll want to carefully remove the stuffing and place it in another dish. Spice it up with some of our over 100 spices ,including sage, rosemary, and thyme at Ocean State Job Lot before serving it to your guests.
Save the drippings for gravy and flavor. They could add to the deliciousness of your turkey.
Don’t overcook your holiday bird. It’s important to check the internal temperature of the turkey and make sure it’s completely cooked and cooled off before carving. The safe minimum temperature is 165°F (74°C). You can use the meat thermometer that you took out earlier or used while cooking your turkey to measure this.
If you plan on making soup or using the turkey carcass for leftovers later, you can place it in a pan right after you carve the turkey. That way, you don’t let any of the juices get lost and you’ll make that next meal even more special.
Happy Thanksgiving from Ocean State Job Lot! Don’t forget to visit your local Ocean State Job Lot store for any last-minute items you may need this holiday season.