
Last Updated on April 15, 2025

Congratulations! You’ve decided to go all in and make a major improvement to your backyard and its outdoor furniture. You’re going to protect yourself, your family, and your friends from the sun and rain with a gazebo from Ocean State Job Lot. Not only are you going to get hours and hours of entertainment for many summers to come, but you’ll also be able to enjoy some of those cool, fun spring and fall nights in the Northeast.
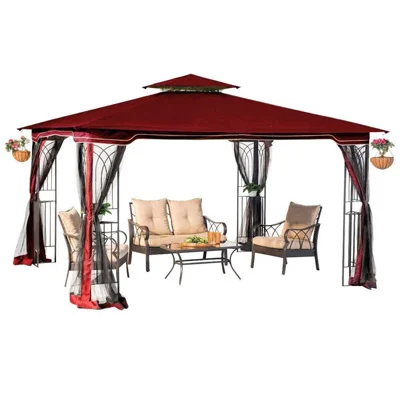
There are many choices to choose from, but with the 10-foot by 12-foot gazebo, you’ll have plenty of room to move about, as well as plenty of space to add a cooler, or anything else you need to enjoy yourself. Maybe it’s a laptop, iPhone, or Alexa? And here’s the cherry on top of the sundae: there are nets to attach to each side to keep the bugs outside and not on the inside nibbling you.
But wait, there’s even more! Consider this your inside information. We’re giving you the inside skinny on how to make putting your gazebo up faster and easier. Plus, we have a few storage suggestions, too. Read up now and you can thank us later!
Helpful hints
Building your gazebo’s roof
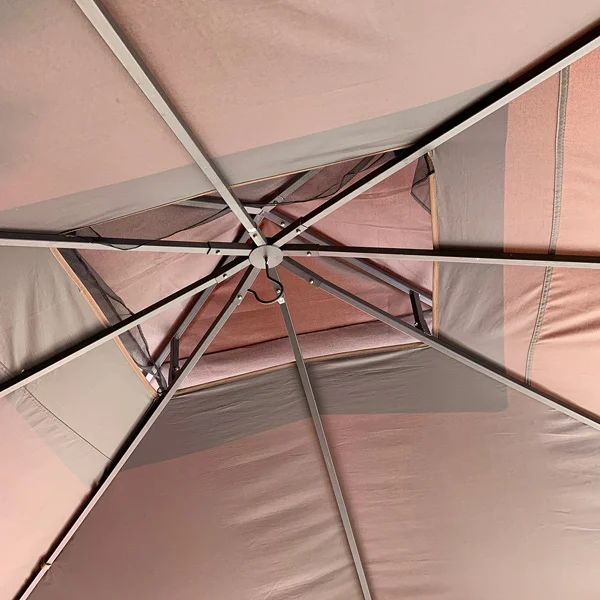
The step-by-step instructions that come with the gazebo are very helpful. We encourage you to follow them. But, there are a few things that we’ve learned in addition to that guide that could help. After all, there are a few challenges in dealing with that vented double roof that, in the end, does provide a comfortable breeze for you and your family and friends.
In year one, we tried to put the smaller roof on at the end of the process. That was a mistake and here’s why. It was very difficult to maneuver it that high up. Also, once it was in place, it didn’t seem like the fabric fully covered the top roof area. That was an issue once it rained as water just sat there on top of the roof waiting for us to push it off with a broom so that mosquitoes wouldn’t gather.
So, we came up with a better way. Assemble your large framework area on the ground. The guide makes it easy to do with all the correct letters on the pieces of metal. Then, once you have the smaller roof pieced together, attach it to the larger roofing area. As long as you have four people to lift it up over to your gazebo, you’ll be fine. If you have fewer people, things could get dicey, so plan ahead and make sure you have the numbers to work in your favor.

Put something on your shelves
There are four shelves that go into the corner of the gazebo. Put something somewhat heavy on them while building so that the shelves don’t keep falling down during the process. Hearing that metal hit the ground could get quite annoying after a while and could damage the shelves to boot.

Netting
Definitely take advantage of the netting on each of the four sides of the gazebo, especially if you have food. The mosquito netting easily zips down and keeps bugs out.. The netting really goes from top to bottom of the gazebo, not letting anything get through. Don’t forget to keep the netting closed when you’re not in it as well.

Hidden Hint
If you are getting water on one side of the roofing area, as we discussed previously, use a pool noodle to stick under the fabric just like the photo above. It lifts things just enough to keep that water from staying there and slides straight off the gazebo. There may be a bit of adjusting along the way but it’s an easy trick to ease the possible damage of rain constantly gathering on the roof. Avoiding this issue, a gathering ground for mosquitoes, will help you stay away from the nasty gnats all summer long.
DON’T do this to your gazebo
Leave it up for the winter
Especially here in the Northeast, don’t leave your gazebo up all 12 months of the year. You may think that the longer you go with no snow, the longer you can keep it up to avoid building it back up next year. Here’s the problem with that logic: even without the snow, just cold temperatures can put cracks in the roof fabric. With the snow, the whole thing could just collapse and be a total loss by the end of the season. Be proactive. Take 30 minutes and put it away at the end of summer.
Keep the framework outside
Because the four corners of the gazebo have to be kept very straight in order to align those middle pieces when you put it back up in the spring, don’t leave it outside. It could get warped, which would be a bad thing and leave you forcing pieces together upon rebuilding.
Gazebos
Gazebo Accessories
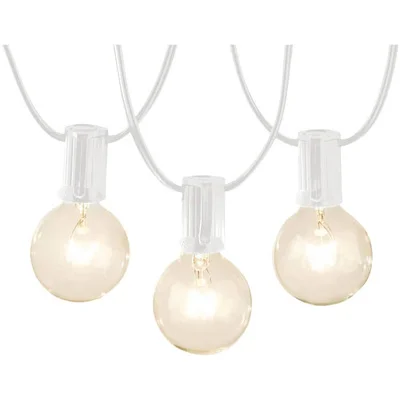
Outdoor Lighting
Outdoor Furniture
Accessories
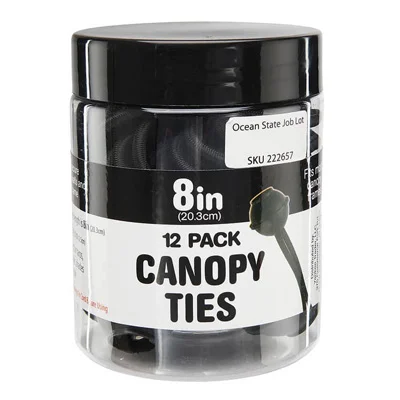
Zip ties
When putting the gazebos away for the winter, use zip ties to store the poles for the framework. Making sure that specific sides are zip-tied together will help you from looking back at the instructions next year when putting the gazebo together. The letters from the instructions are nice, but what if you lose the instructions or the letters come off? Having them zip tied together will get around that issue. Think about the zip ties too if you’re stringing some outdoor lighting inside the gazebo. Extra ones always come in handy.
Storage
Also, get a storage container to keep your roof fabric dry and durable throughout the cold months. Put your instructions in there, too!
Power
Finally, an extension cord and power strip could come in handy so you don’t have to keep coming in and out of the gazebo to power your musical and other devices.
Final thoughts
Like most things, the more you put them together, the easier it becomes. The same holds true here. Plus, be proactive. You want to be ahead of rips, tears, rust, and corrosion. Regular maintenance is key.
Lastly, visit your local Ocean State Job Lot to check out the great pricing going on for the Regency II Gazebos as well as all of our outdoor furniture and fun. You might even find yourself a Crazy Deal Gift Card, too, as a reward if you’re an Insider. Don’t miss out!