
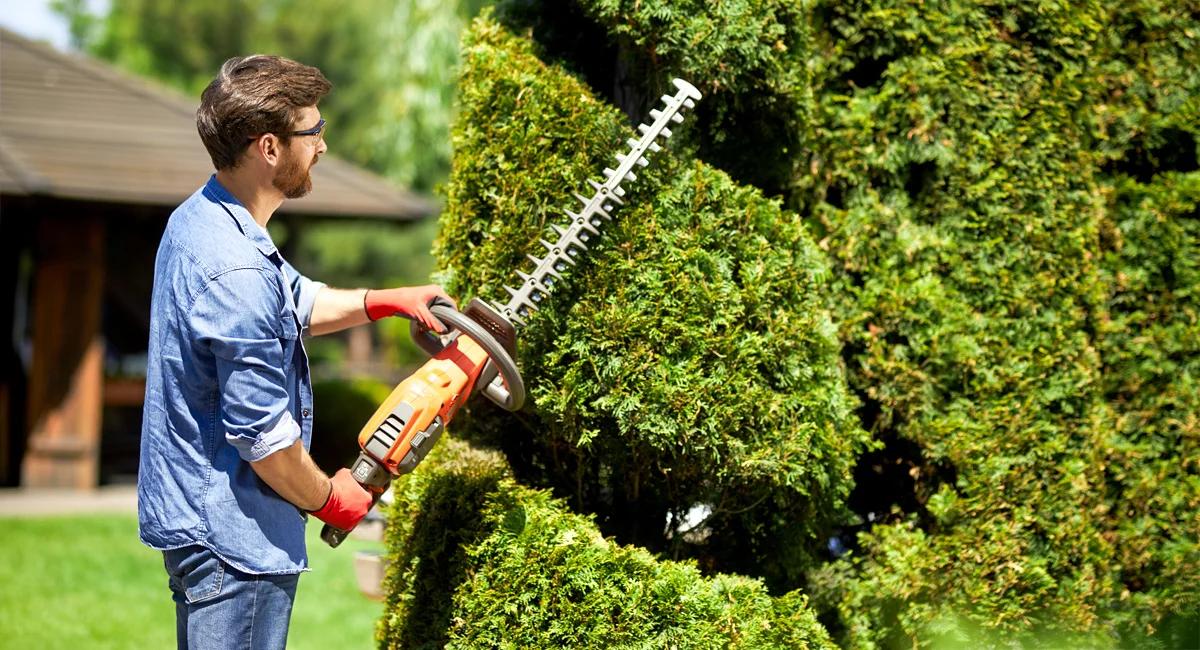
OK, you’ve finally made that commitment to cut your bushes and hedges and then the worst thing that could possibly happen does! The trimmers just don’t cut the way you think they should and you’re left holding a tool that’s just not getting the job done.
Before you know it, you’re getting frustrated and headed into an anger level that will put you in a bad mood. It will also cause you to not want to cut your hedges the next time they need to be done. So, let’s avoid that happening and give you a few tips so you don’t get discouraged along the way!
Recognizing Dull Hedge Trimmers
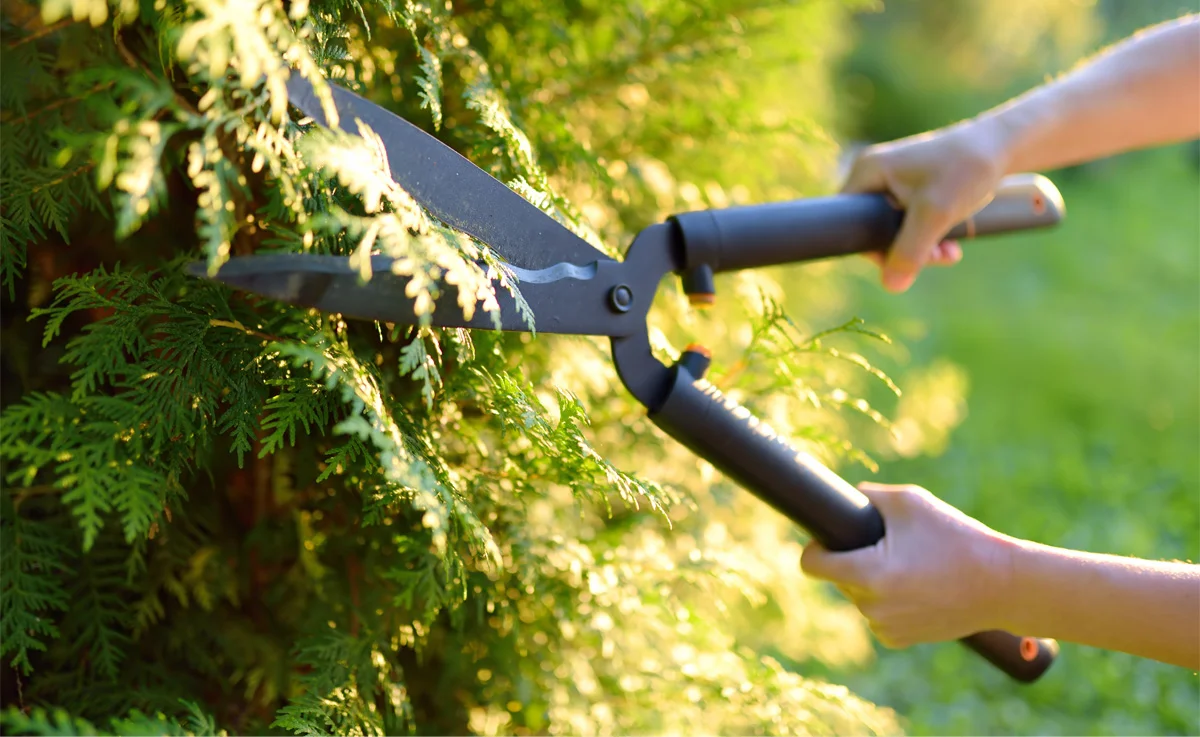
The most obvious sign that your hedge trimmers are getting dull is that they will no longer cut your brushes as cleanly as they have in the past. They will rip or tear rather than cut the branches, leaving a rough, uneven edge.
You may also find that it takes more effort to push the blades through the branches. That’s because the dull blades are not gripping the branches as effectively.
Be Safe! Safety Precautions Before Sharpening
If you do find yourself in the situation where you need to have your hedge trimmers sharpened, here are some key safety tips before you get started:

1. Protect your eyes
Wear safety glasses to shield your eyes from flying metal shavings or debris that could come loose during sharpening.

2. Glove Up
Use cut-resistant gloves to protect your hands from accidental cuts on the sharp blades.

3. Power Down
For electric hedge trimmers, completely disconnect them from the power source. For gas-powered models, ensure the engine is off, spark plug is disconnected, and fuel valve is closed.

4. Secure the Blades:
You can either remove the blades entirely for sharpening on a workbench or clamp the trimmers securely in a vise to prevent them from slipping while you sharpen.

5. Cleanliness is Key
Before sharpening, clean the blades thoroughly with a rag or brush to remove dirt, sap, and debris. This ensures a clearer sharpening surface and prevents these materials from getting lodged in the file or whetstone.

Sharpening Your Hedge Trimmers Step-by-Step
Tools and Materials
- Safety glasses
- Cut-resistant gloves
- Workbench or vise
- Rag or brush
- Flat file (choose a width that matches the teeth of your trimmer)
- Whetstone, which is a fine-grained stone (optional)
Once you’ve powered down your trimmers and put on safety glasses as previously mentioned, you’re ready to go. Some of these tips are for hedge trimmers with tooth-blades. If you are using the simpler hand trimmers, it will be a bit easier to sharpen the blade itself.
Remove or Secure the Blades
- Option 1: Removal: Consult your trimmer’s manual for instructions on safely removing the blades. Place the removed blades on a secure, flat surface like a workbench.
- Option 2: Secure in Vise: If removing the blades is not feasible, clamp the trimmers securely in a vise, ensuring the blades are stable and the cutting teeth face upwards.
Clean the Blades
- Use a rag or brush to thoroughly clean any dirt, sap, or debris from the blades. This allows for better sharpening and prevents contamination of your sharpening tools.
Sharpening with a File
- Identify the Bevel: Locate the angled edge (bevel) on each tooth that creates the cutting surface.
- File at an Angle: Hold the file flat against the bevel of a tooth, angled at approximately 45 degrees in the direction of the cutting edge.
- Maintain the Angle: Using light, even strokes, draw the file away from you along the entire length of the bevel, maintaining the original angle. Repeat for each tooth.
- Sharpen Evenly: Apply consistent pressure and strokes to ensure all teeth are sharpened uniformly.
Deburring with a Whetstone (Optional)
- Honing with a whetstone removes any burrs (tiny metal fragments) left behind by filing.
- Lightly run the whetstone along the flat surface (not the bevel) of each tooth, following the direction of the tip. This smooths the sharpened edge.
Inspect and Repeat
- Visually inspect the blades to ensure all teeth are sharpened evenly.
Reassemble or Secure
- If you removed the blades, carefully reassemble the trimmers following the manufacturer’s instructions.
- If the trimmers were secured in a vise, loosen the clamp and remove them.
Test and Oil
- Test the sharpness by carefully cutting a soft material like cardboard. The cut should be clean and effortless.
- Apply a light coat of machine oil to the blades to prevent rust and corrosion.
Extra Tips
In order to get the maximum use of your hedge trimmers, you’ll want to clean after each use. Even using a coating of oil along the blades after cleaning will help for the next time you use them.
In addition, you want to avoid cutting hard materials. Keep to only cutting those bushes that make sense for the model of trimmer you have. Finally, keep your trimmer in a place that’s good for storage against the elements, something we’ve outlined in our blog post on best ways to store garden tools, or keep indoors.
If at any point during the process you become uncomfortable with sharpening your hedge trimmers, take them to a professional.
By following these steps, you can keep your hedge trimmers sharp and ensure they perform optimally for years to come.