Recently updated on January 31st, 2024
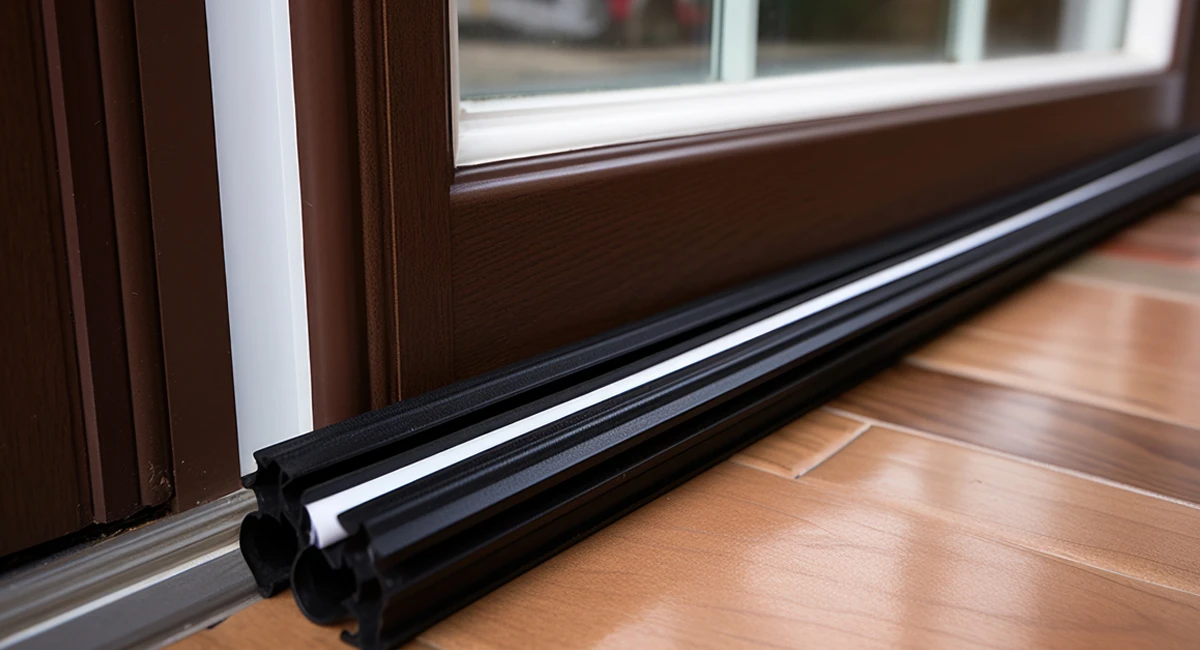
Tired of those cold, winter drafts coming through your front, back or side doors? Angry over watching your heating bills rise while costly oil or gas goes right out the door? Well, Ocean State Job Lot is here to help you put a stop to that with a few ways to help combat the waste and keep you comfy, cozy and warm this winter. It doesn’t take long, but you do have to know what you’re looking for when you winterize your home. So, join us on our journey as we teach you how to weather strip your doors.

Introduction to Weather Stripping
At Ocean State Job Lot, we understand the importance of having a comfortable and energy-efficient home. One of our missions as a Responsible Retailer is to be sustainable. One effective way you can do that is by weather stripping your doors.
Paint this picture for yourself. You’re sitting in your living room and there’s not even a hint of a chill coming through the front door on a chilly winter evening. Can you even imagine? Well, it’s very possible. Plus, the same effect works in the summer. Heat won’t come through, and you’ll be nice and cool inside. Our wide options of weather-stripping solutions, including our Frost King products, will ensure a perfect fit for your front entrance, back door, or side doors.
Understanding the Basics of Weather Stripping
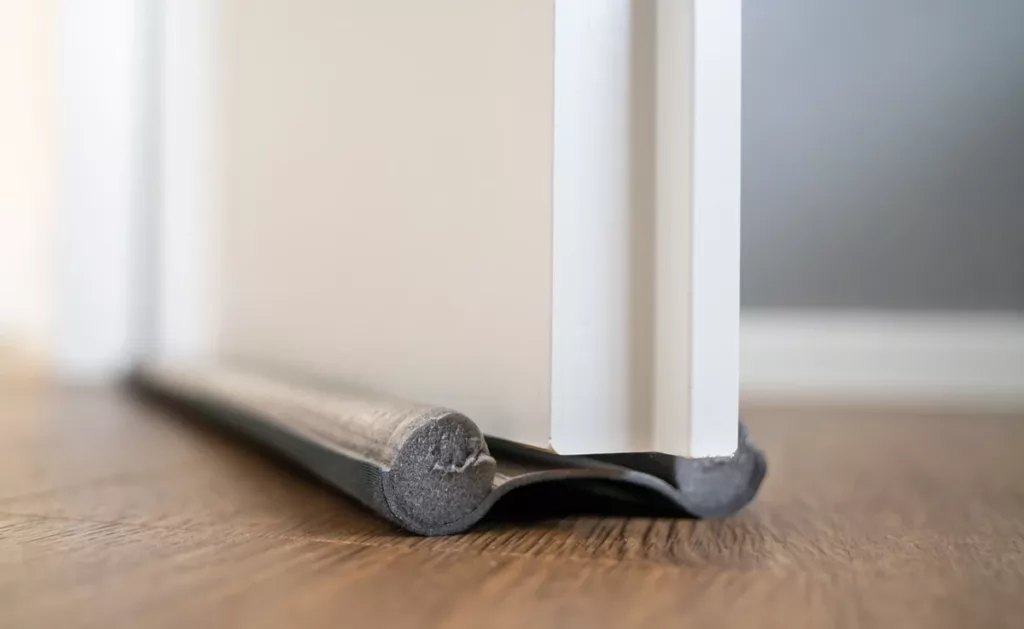
So, before we start to fix the issue, we must first try to understand the problem. Weather stripping serves as a protective barrier, sealing gaps around doors to prevent drafts, moisture, and unwanted outdoor elements from infiltrating your living space. In essence, by creating a tight seal, weather stripping helps maintain a consistent indoor temperature, ensuring your home stays warm in the winter and cool in the summer. The by-product of doing it is monthly savings all year long and the ability to stay comfortable in your own surroundings. It also helps you avoid wearing hats and gloves indoors, something better left for when you leave the house.
Here are a few things you have to ask yourself before executing your plan:
- What’s the present state of your door?
- Do you need a replacement door?
- What’s the state of your current weather stripping, if any?
- Do you need a complete overhaul or just the sides and bottom?
The answers to those questions will tell you how much work needs to be done before putting down new insulation.
Preparing Your Door for Weather Stripping
Before starting the installation process, it’s completely crucial to start with a clean and dry surface. Use a brush or towel to thoroughly clean the door frame and the surrounding area. Make sure you remove any dirt, dust, or debris to ensure a smooth and secure bond for the weather stripping adhesive. Having any of that still there when you apply the insulation could cost you later.
Next, inspect the existing weather stripping, if any, for signs of wear and tear. If you notice any gaps, cracks, or peeling, it’s advisable to remove the old weather stripping before installing the new one. Use a putty knife or a similar tool to carefully pry off the old material, ensuring a clean slate for the fresh application.
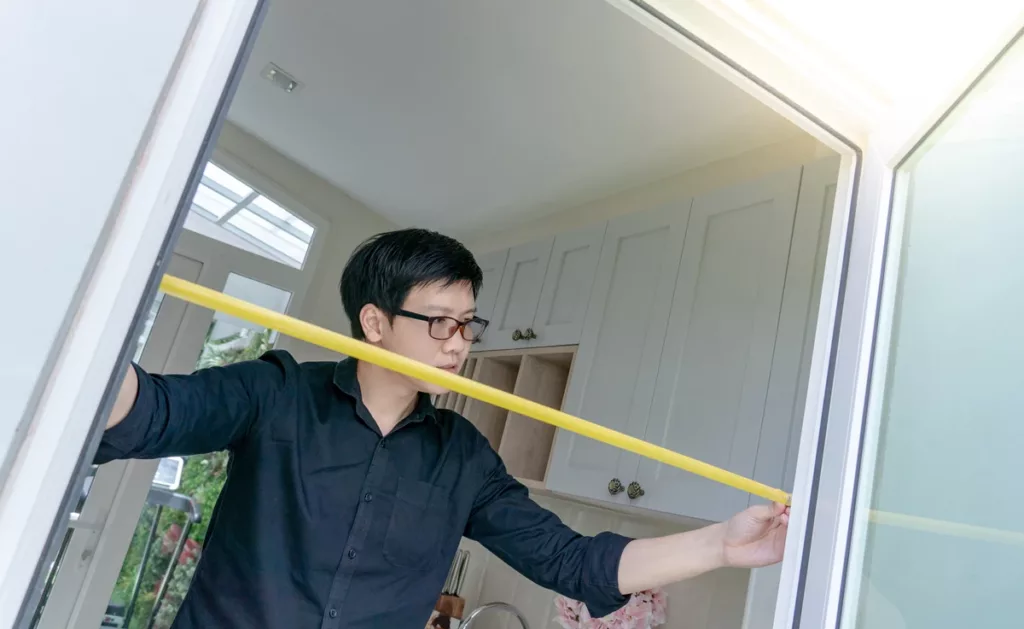
Measure the dimensions of your door frame accurately. Having precise measurements ensures that you choose the right size and type of weather stripping for your specific door. At Ocean State Job Lot, we have a variety of weather stripping options that will fit your specific door type and size.
Now, select the appropriate weather stripping material for your needs. Whether it’s adhesive-backed foam tape for quick and easy installation or door sweeps for added protection at the bottom of your door, we’ve got you covered with quality and affordable options.
Step-by-Step Guide to Installing Weather Stripping
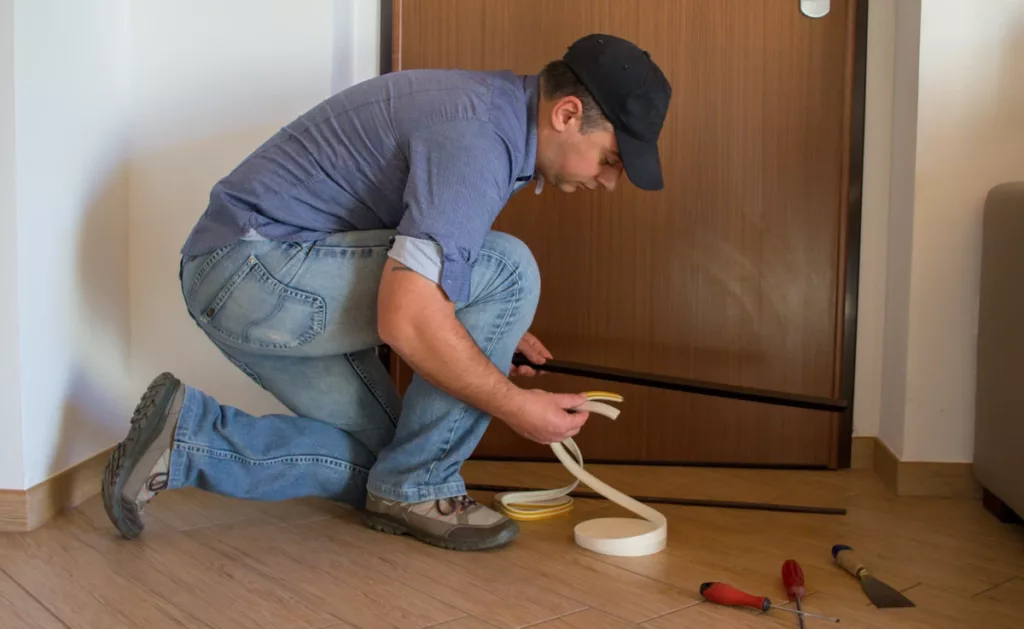
If you’ve never gone through the process before, here’s an easy step-by-step guide you can follow along with to put down your weather stripping. Don’t rush things and you’ll be good to go in no time at all.
1. Gather Your Tools:
Start by gathering the necessary tools and materials. You’ll typically need a tape measure, a utility knife or scissors, a putty knife, and the weather stripping material of your choice.
2. Clean the Surface:
Ensure the door frame and surrounding area are clean and dry. Remove any existing weather stripping, adhesive residues, or debris using a putty knife, brush, or towel. A clean surface ensures a strong bond for the new weather stripping and avoids bumps later on that will prevent the door from closing easily and completely.
3. Measure the Door Frame:
Accurate measurements are crucial for a snug fit. Use a tape measure to determine the dimensions of the door frame, considering both the width and height. This step ensures you choose the right size and type of weather stripping.
4. Choose the Right Weather Stripping:
Ocean State Job Lot offers a diverse range of weather stripping options. Select the type that best suits your needs, whether it’s adhesive-backed foam tape for easy application or door sweeps for added protection at the bottom of your door. There’s also a felt nail-on weatherseal if you’d like something a bit more secure than tape.
5. Cut to Size:
Using a utility knife, scissors, or simple saw, you can carefully cut the weather stripping material to match the measured dimensions of your door frame. Double-check your measurements to ensure precision.
6. Apply the Weather Stripping:
Follow the manufacturer’s instructions for your chosen weather stripping product. Adhesive-backed options are typically easy to apply; simply peel off the backing and press the strip firmly onto the door frame. For door sweeps, attach them securely at the bottom of the door using screws.
7. Test the Seal:
Once installed, close the door and check for any gaps. The weather stripping should create a tight seal, preventing drafts and enhancing energy efficiency.
By following these simple steps, you will be avoiding a draft in no time.
If you’d like a more visual guide, check out this video from our partners at Frost King.
Troubleshooting Common Weather Stripping Challenges
Even if you follow our steps perfectly, there still may be a few things that could go astray. Watch out for these:
• Inadequate Adhesion:
If the adhesive-backed weather stripping isn’t sticking well, ensure the surface is clean and dry. Wipe away any dust, dirt, or moisture, and press the stripping firmly again for a secure bond.
• Uneven Seal:
For an uneven seal, double-check your measurements and ensure the weather stripping is cut precisely to fit the dimensions of the door frame. Adjust as needed, and consider reapplying or trimming the stripping for a better fit.
• Difficulty Closing the Door:
If the door is challenging to close after installing weather stripping, the material may be too thick. Opt for a thinner option or adjust the positioning to ensure the door can close smoothly without resistance.
• Gaps or Drafts Persist:
If you still notice gaps or drafts, inspect the installed weather stripping for any tears. Make sure it’s properly aligned and securely attached. Consider replacing damaged sections or reapplying for a better seal.
Enhancing Home Insulation Alongside Weather Stripping
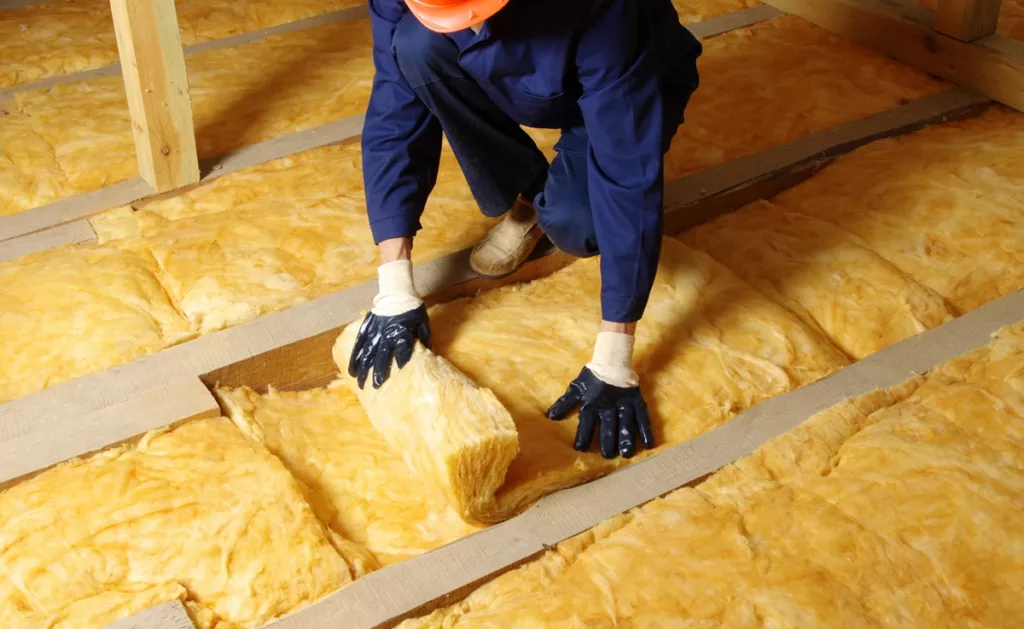
Let’s not forget though, weather stripping your door isn’t the only thing that you can do to help keep those high energy bills down. Make sure you have proper insulation around the rest of your house, including walls and attic spaces. The more heat or cool you keep inside your house, the better.
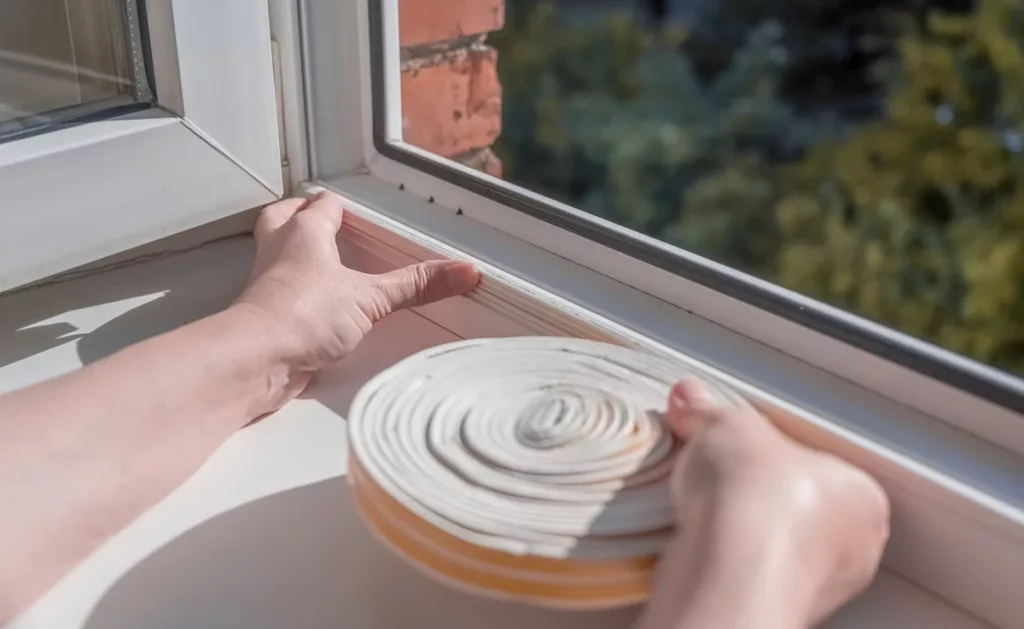
Just like you do with your doors, you can weather strip your windows too. Frost King has the perfect products for those as well. Plastic insulation and caulk certainly come in handy there.
Wrap pipes so they don’t freeze and burst should you get a deep freeze during the heart of the winter. Take care of outside faucets as well. You don’t want them cracking and bursting.
Remember, this will take time and it all won’t get done in one day. Take your time, plot out what you need at home and then come visit us at Ocean State Job Lot. You’ll get more for less with us and enjoy the comforts of home with your friends and family a little more.
