
Last Updated on March 5, 2025
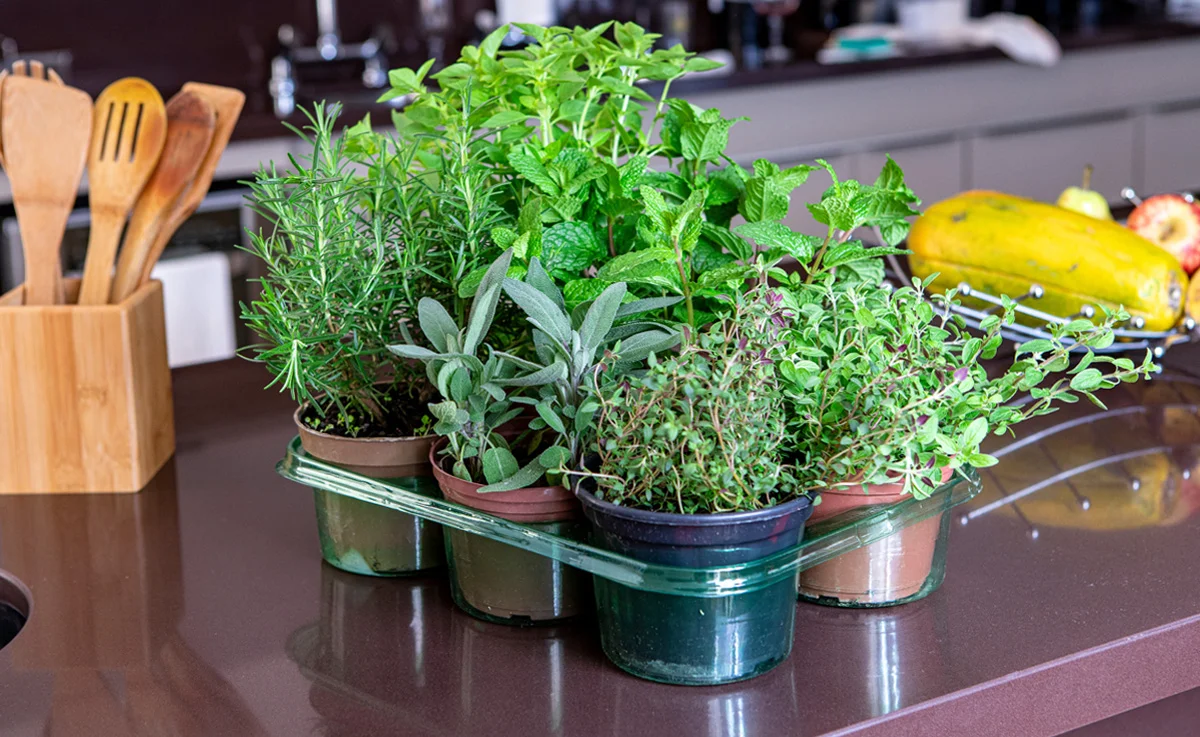
Imagine snipping fresh basil for your Caprese salad, plucking plump thyme sprigs for roasted potatoes, or infusing vibrant mint leaves into steaming tea – all from the comfort of your own home. An indoor herb garden isn’t just a culinary convenience; it’s a vibrant oasis of green that cleanses the air, reduces stress, and adds a touch of rustic charm to any space.
These small yet fragrant indoor gardens are perfect for people without a large yard, apartments, and anyone who wants delicious fresh herbs at their fingertips year round! Growing your own aromatics opens a world of fresh culinary possibilities, adds greenery to your space, and boosts your mood with a touch of nature. Whether you’re a seasoned chef or a casual cook, a plant enthusiast, or a complete beginner, indoor herb gardening offers something for everyone. Say goodbye to wilting parsley left forgotten in the back of your fridge! This complete guide will navigate you through the journey, from choosing the right herbs to harvesting and using your favorite fresh herbs. Grab your gardening gloves and a sense of adventure – let’s get your indoor herb garden flourishing!
Choosing the Right Herbs for Your Indoor Garden
Picking the perfect herbs for your indoor garden is all about matching your taste buds and lifestyle. Choosing your favorite herbs is one of the best things about growing an indoor herb garden. You can start with culinary staples like mint, cilantro, or parsley. Do you enjoy cooking Italian food? Try growing oregano, thyme, basil, and rosemary. Don’t forget about decorative options like lavender and catnip, adding visual interest and natural air freshening.
One thing to keep in mind is to tailor your choices to your light conditions. Sun-loving herbs like basil and rosemary need well-lit spots, while mint and parsley thrive in partial shade. Consider how often you cook with each herb you want to use, too – choose herbs you use frequently to justify the space they occupy.
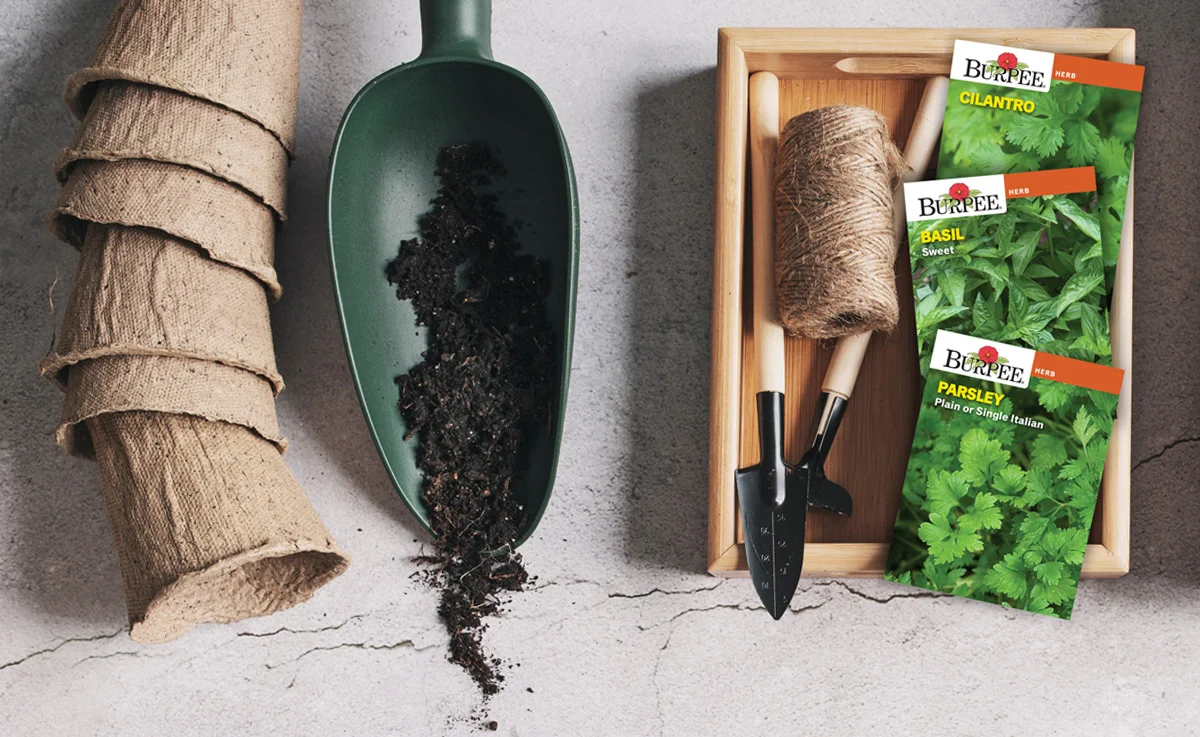
Essential Supplies for Starting Your Herb Garden
Now that you’ve decided which herbs you’d like to grow, you need to gather your gardening tools! Ocean State Job Lot’s exclusive Tiller and Rowe line of gardening necessities makes it easy to find everything you need in place. You’ll need:
- Pots and planters: Most herbs aren’t picky about the container they’re grown in. One tip for success is to opt for vessels with drainage holes to prevent waterlogging. Terracotta pots breathe well, while plastic is lightweight and often more affordable. Clay pots are great for moisture-loving herbs. You can even use tin cans or mason jars with some small stones in the bottom to help promote better drainage. Don’t forget to pick up some small saucers to place under your pots to catch water that isn’t absorbed by the soil.
- Potting soil: Choose a well-draining, organic mix specially formulated for herbs. We have a large variety of soils in our planting and yard care department.
- Seeds or seedlings: Herb seeds are budget-friendly but require patience, while seedlings offer a quicker harvest. Our selection of NK Lawn & Garden and Jiffy seed starting pots is a great way to start your herbs before putting them in a permanent container.
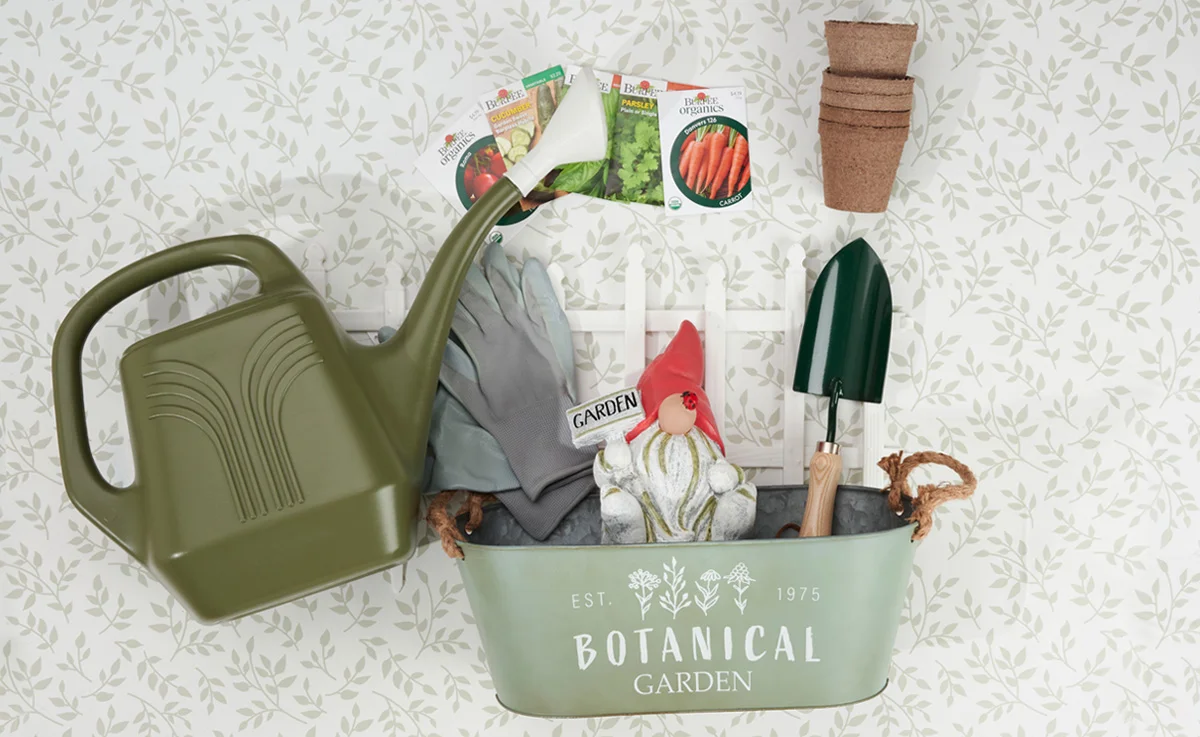
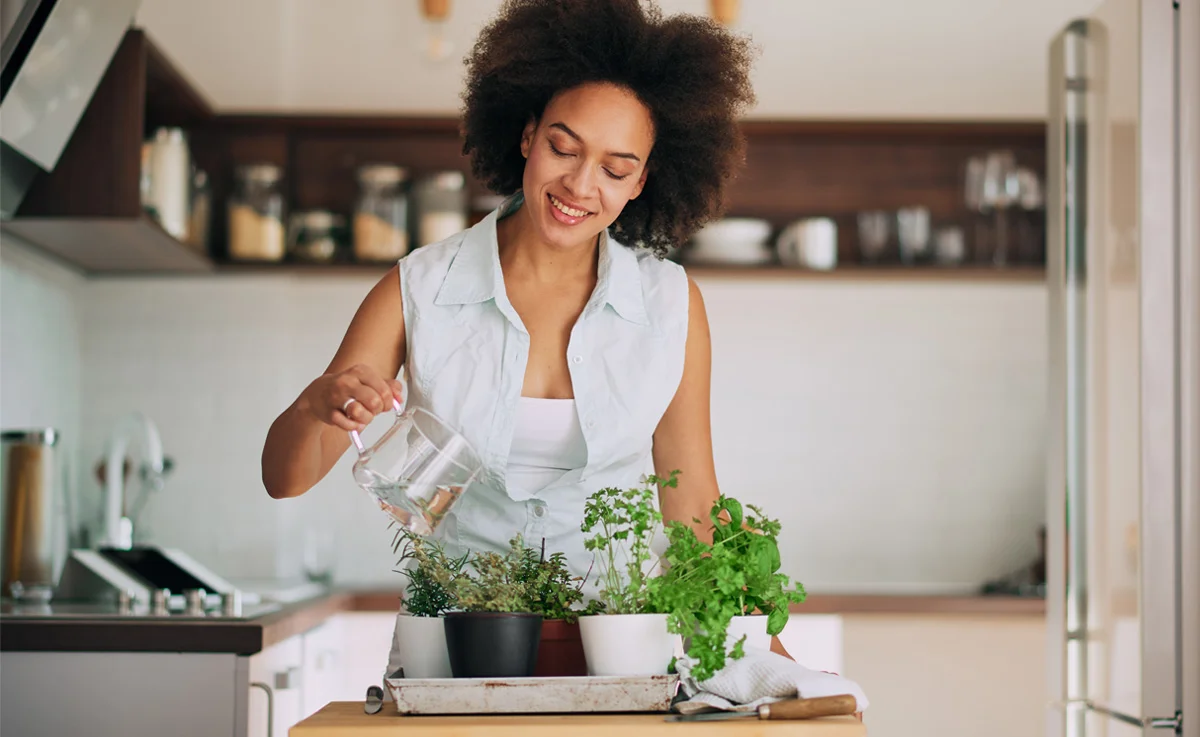
- Watering can or spray bottle: Look for a watering can with a fine spout for delicate plants or use a spray bottle to mist your seeds or if your indoor garden is in a tight space that makes watering with a watering can cumbersome.
- Fertilizer: Organic liquid fertilizer helps keep your herbs nourished.
- Plant markers: Labels are handy for remembering which herb is which.
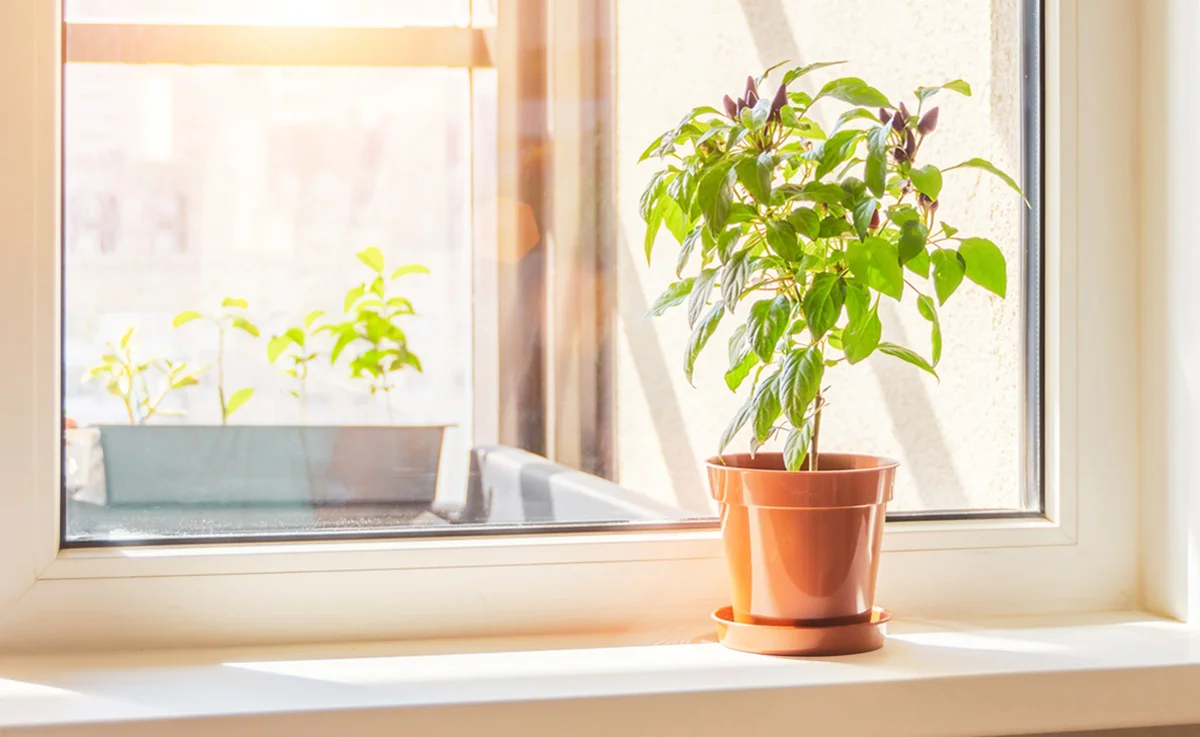
Finding the Perfect Spot: Light and Temperature Considerations
Light is key in the indoor herb kingdom. Most herbs require some – but not too much – light. Aim for at least four to six hours of bright, indirect sunlight daily. What does indirect light mean? It’s light that passes through a window or light that doesn’t directly beat on a plant. South or west-facing windows are ideal. Rotate your pots regularly for even growth. If natural light is limited, consider supplemental grow lights.
Temperature matters too. Most herbs prefer moderate temperatures between 65-75 degrees Fahrenheit. Avoid drafty spots and keep your herb haven away from heating vents or air conditioners.
Planting Your Herbs: A Step-by-Step Guide
Ready to get your hands dirty? Follow these steps:
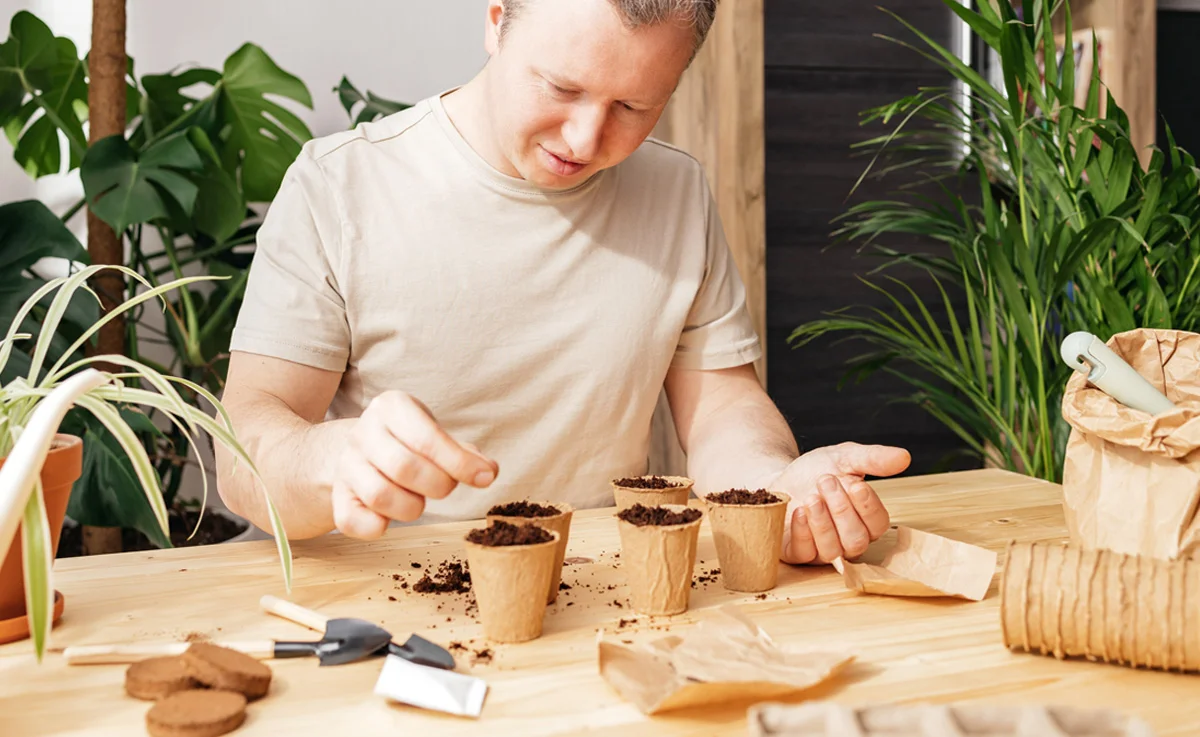
- Fill your pot with potting mix. Leave about an inch from the rim.
- Poke a hole in the soil, deep enough for your seed or seedling.
- For seeds, sprinkle them gently on the surface and lightly cover with soil. Don’t pack the soil down or the delicate seedling won’t be able to poke through. Water with a fine spray. A misting spray bottle works perfectly!
- For seedlings, gently remove them from their container and nestle them in the hole. Fill in with soil and press firmly.
- Water your herbs gently until you see a little bit of water drain from the bottom of the pot into the saucer.
- Label your pots and place them in their designated sunny spot.
Ongoing Care and Maintenance: Nurturing Your Green Buddies
Keeping your herbs happy is key to a bountiful harvest. Here’s how:
- Watering: Water deeply when the top inch of soil feels dry, then allow it to drain before watering again. Overwatering can kill your herbs.
- Fertilizing: Feed your herbs every two to four weeks during the growing season with a diluted organic fertilizer.
- Pruning: Regularly pinch off dead leaves and stems to encourage bushier growth. Trim flowering stems to prolong leaf production.
- Repotting: When your herbs outgrow their pots, transplant them into larger containers with fresh potting mix.
Harvesting and Using Your Home-Grown Herbs: From Garden to Plate
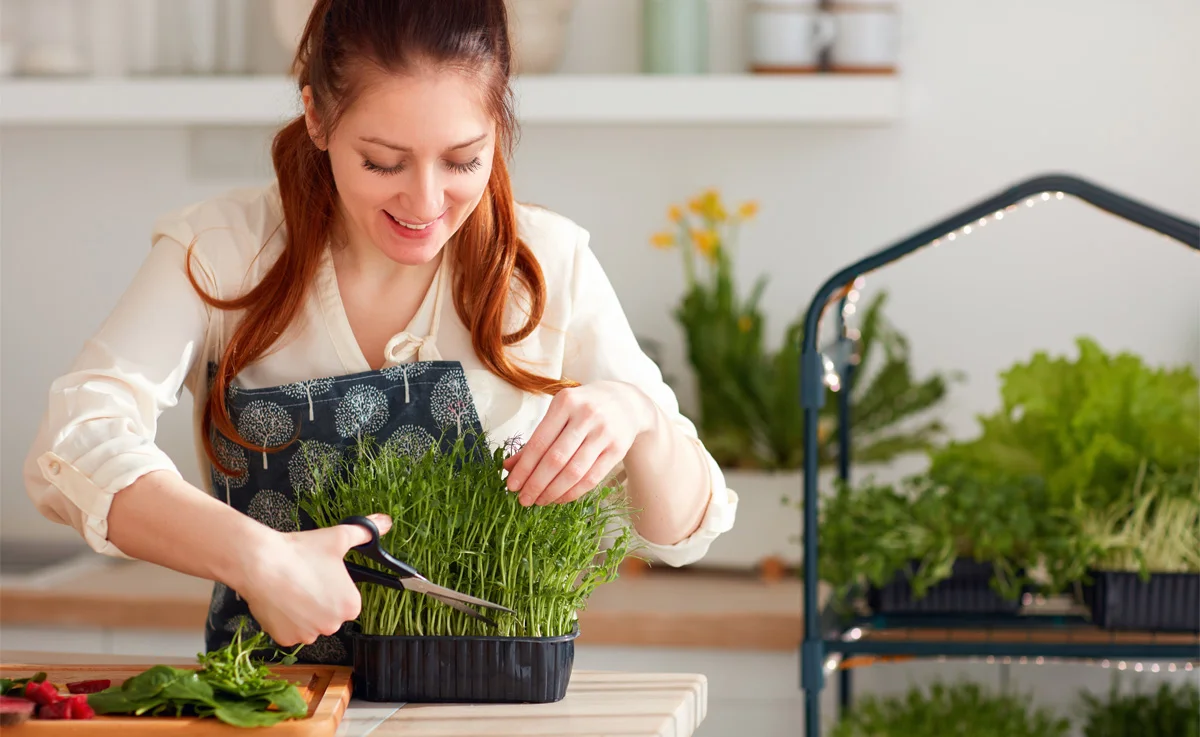
Once your herbs have grown to their desired length, snip fresh leaves and stems using sharp scissors or a knife as needed. Harvest in the morning when the herbs contain the most essential oils for maximum flavor.
Use your bounty to elevate your culinary creations. Basil pesto with homemade pasta, fragrant mint in your iced tea, fresh rosemary on roasted potatoes – the possibilities are endless! An herbed butter made with softened butter and fresh herbs like rosemary or thyme is a great addition to finish mashed potatoes or a freshly grilled steak. Don’t forget about infusions, dried leaves, and creative herb-infused vinegar.
Troubleshooting Common Indoor Herb Garden Issues: Nip Problems in the Bud
Even the most dedicated herb gardeners encounter challenges. Here are some common woes and their solutions:
- Leggy herbs: A leggy plant or herb is one that’s very tall but has very few leaves or blooms. This often means there isn’t enough light. Try moving your herbs to a sunnier spot or invest in grow lights.
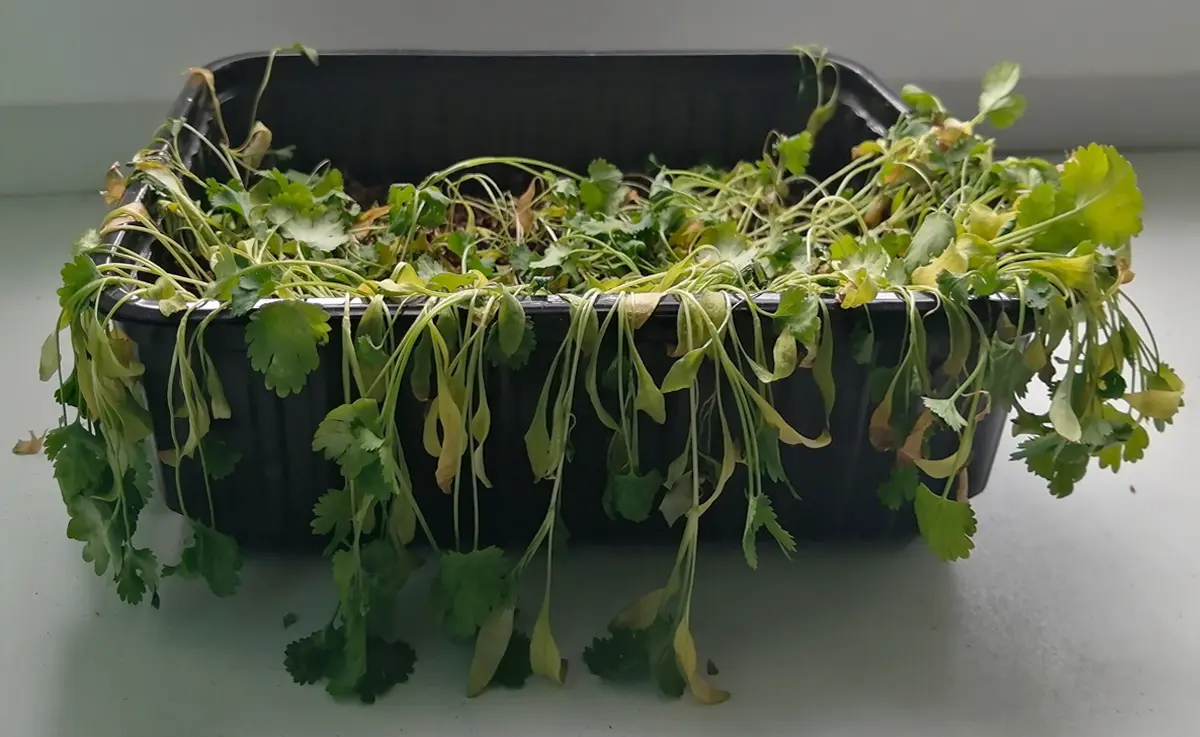
- Yellowing leaves: This could mean you’re overwatering or there’s a nutrient deficiency. Check the soil moisture and adjust your watering schedule to see if that works. If the soil is too soggy, repot with fresh mix. Consider fertilizing if leaves are pale.
- Brown leaves: Your plant might be getting too much sunlight and the leaves are getting burned or you might be underwatering your plant. Adjust your watering routine and check for sunburn on leaves. Move your herbs to a location with filtered light if needed.
- Pests: Regularly inspect your plants and isolate any infected ones. Pests like aphids, spider mites, and whiteflies can plague your herbs. Try insecticidal soap or neem oil.
Remember, prevention is key! Consistent care, proper light and temperature, and a watchful eye will keep your green friends thriving.

Expanding Your Indoor Herb Garden: From Seedling to Spice Emporium
Once you’ve mastered the basics, your herb garden can blossom into a fragrant ecosystem. Experiment with herbs like lemongrass, dill, or fennel. Propagate your existing herbs from cuttings to expand your collection without spending a dime.
Your indoor herb garden isn’t relegated to just your windowsill! Consider vertical gardening using hanging planters or tiered shelves to maximize space. Create themed herb gardens for specific cuisines or culinary purposes. If you have a larger window area, you can even bring some smaller outdoor decor items indoors to create a mini garden paradise. The possibilities for designing and maintaining your indoor herb garden are endless!

Enjoying the Fruits of Your Labor
As you snip that first sprig of emerald green, let its fragrant essence fill you with the satisfaction of a job well done. Your indoor herb garden is more than just a splash of color on the windowsill; it’s a testament to your care, a taste of the natural world brought indoors, and a promise of countless culinary delights to come. So tend your little patch of green magic with love, reap the fragrant rewards, and let your kitchen become a symphony of homegrown flavors. Happy herb gardening, and may your culinary journey be filled with endless possibilities!